A room painted like a pro owes its finish to sequence: each stage is done right before the next one starts. This guide takes a homeowner through that sequence, from the tools to the last inspection once the paint dries, and shows when a room is better handed to a painter. Steve Austin, owner of family-owned Quality Preferred Painting in Braintree, wrote it.
Key Takeaways
- Pay for a brush and roller cover that hold paint well, since bargain tools show up as streaks and stray bristles.
- In a home built before 1978, read up on lead paint before any sanding, because old paint can hold hazards you cannot see.
- Expect prep to take longer than painting; a washed wall with every dent filled and sanded flat is what dries smooth.
- Tape the trim and lay drop cloths along every wall before any can is opened, so drips land on cloth, not wood.
- Prime bare drywall and fresh patches so they do not soak up the first coat and dry to dull spots.
- Brush the ceiling line and corners before rolling, dipping only the brush tip so no ridge of paint trails behind it.
- Roll each section as a W, fill it in without lifting, and keep the cover loaded but never dripping.
- Check the dry wall with a light held low and to the side; its shadows reveal drips and thin spots worth touching up.
- Peel tape while the last coat is still a little tacky, before the paint dries into the edge and tears with it.
Tools and Materials You Need to Paint a Room Like a Pro
Buy tools that hold and release paint evenly; a cheap brush sheds bristles and a thin roller cover leaves a patchy film. If your home predates 1978, read up on lead paint in older South Shore homes before buying sandpaper. The EPA’s lead renovation page says such homes may contain lead-based paint, and its Renovation, Repair and Painting (RRP) Rule requires certified practices when painted surfaces are disturbed.
Essential Painting Tools
- Angled sash brush: the tapered tip lets you cut in, painting the edges a roller can’t reach.
- Roller covers: short nap for smooth walls, longer nap for texture.
- Bleed-resistant painter’s tape: stops paint wicking under the edge.
- Canvas drop cloths: absorb drips, unlike slippery plastic.
Recommended Paint Supplies
For results close to a professional room painting service, add a sturdy tray with liners and an extension pole for even floor-to-ceiling strokes. Volatile organic compounds (VOCs) are gases released by certain liquids, and the EPA’s indoor air guidance lists maximum ventilation during painting among the ways to reduce them.
Choosing the Right Paint Finish
Sheen is how much light dry paint reflects. Flat and matte hide dents and patches but scuff easily, eggshell and satin wipe clean, and semi-gloss resists moisture while showing every flaw. Our guide to types of paint finishes compares each one in depth.
Choosing Color, Sheen and Primer for Bedrooms, Bathrooms and Living Areas
- Bedrooms: flat or matte suits low-traffic walls; spot-prime patches first.
- Bathrooms: satin or semi-gloss sheds steam; use a stain-blocking primer over water marks.
- Living areas: eggshell or satin takes wiping; prime over dark colors.
Test large samples in the room’s own light. If you lean gray, check which colors go with gray on trim and accents.
Step 1: Preparing the Room and Walls Before You Paint
Prep is where the finish is decided: clear the room, wash the walls, then fill and sand every flaw. A pro spends more time with a sanding sponge and a rag than with a brush, because paint shows a dent rather than hiding it.
Move or Protect Furniture
Empty the room as far as you can, then push what stays to the center under heavy plastic so the ladder has a clear lane along each wall. Unscrew outlet covers and switch plates; painting around them leaves a ragged outline once they come off.
Clean the Walls
Paint will not bond to dust or finger oils. Wash the walls with mild soap and water, working hardest around door frames and light switches, then let them dry before patching.
Repair Wall Imperfections
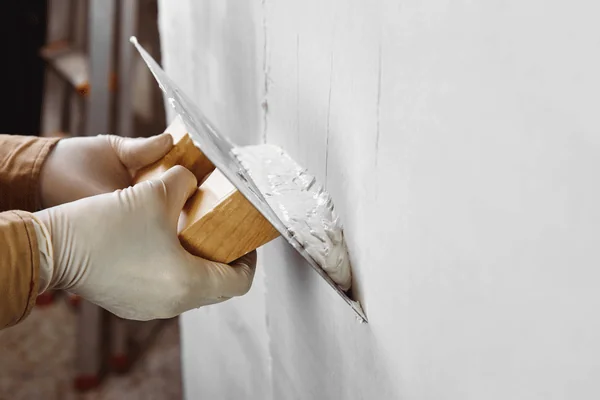
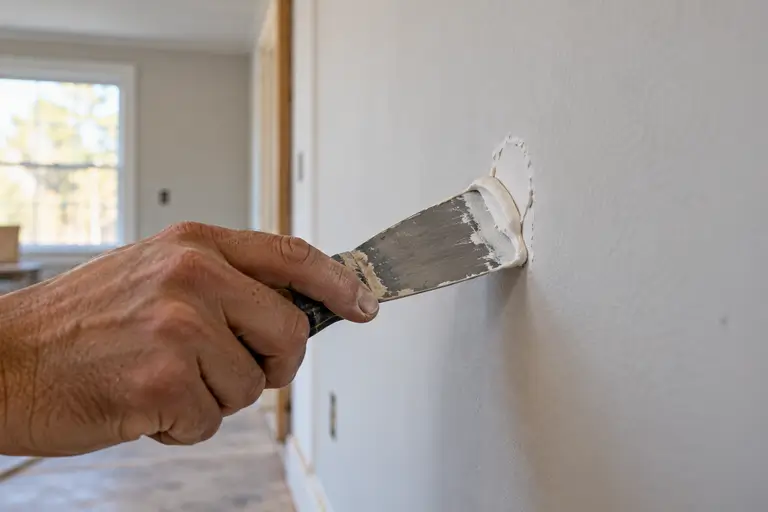
Press spackle into nail holes and dents with a putty knife, leaving it a touch proud because it shrinks as it dries. Sand flush once hard. Run a palm over each spot: a ridge you can feel will show through paint.
Preparing the Walls: Cleaning, Patching Cracks and Checking Old Plaster
Old plaster needs a closer look than drywall. Plaster that sounds hollow when tapped, or bulges off the lath, has lost its grip, and fresh paint will crack along with it; that calls for plaster repair before any coat goes on. The EPA’s lead renovation program warns that old or worn lead-based paint, especially on friction surfaces like doors or window sills, can produce chips and dust that are a hazard when inhaled or ingested.
| What you find | What it needs before paint |
|---|---|
| Nail holes and dents | Spackle, then sand flush |
| Hairline plaster cracks | Fill and sand like a nail hole |
| Hollow or bulging plaster | Repair the plaster first |
| Chipped paint on old sills or doors | Leave it unsanded until you know whether it holds lead |
Step 2: Taping Edges and Covering Floors and Trim
Tape the trim you are keeping, then cover the floor along every wall before a can is opened. Run painter’s tape along the baseboards, door casings and window casings. Lay it in short, overlapping strips rather than one long pull; a long strip stretches as you unroll it, then lifts off the edge. Press each edge down firmly with a clean putty knife so no paint creeps underneath. Push the drop cloths tight against the baseboard and overlap their seams, because a drip finds any gap.
Step 3: Do Walls Need Primer Before You Paint Them?
Bare or newly patched surfaces need primer; a clean, sound wall already painted a similar color usually does not. Bare drywall and fresh joint compound are porous, so they soak up the first coat and leave dull patches painters call flashing. Primer seals them and gives paint an even tooth to grip. Glossy old paint needs a light scuff and a primer coat, or the new paint can peel. The U.S. Environmental Protection Agency notes that primers, like paints, can emit volatile organic compounds that affect indoor air during and after application, so a low-VOC primer is the gentler choice.
Step 4: Cutting in Edges Where a Roller Can’t Reach
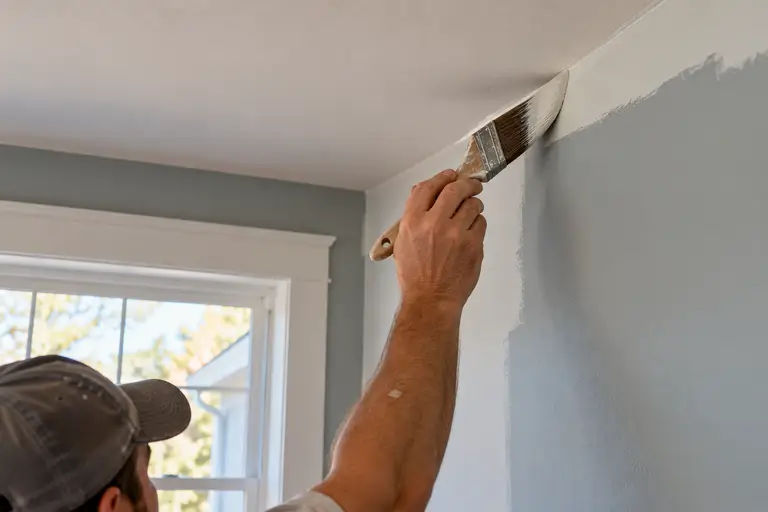
Brush a band of paint along the ceiling line, the corners and every taped edge before the roller touches the wall. Load only the tip of the angled brush and tap the excess off against the inside of the can; an overloaded brush drags a blob behind it. Don’t aim for the corner on the first pass. Set the brush down a short way out from the line and walk it toward the edge, so the paint feathers in instead of pooling into a heavy bead.
Painter Tricks for Clean Lines and Even Coverage
Cut in one wall, then roll that wall, rather than brushing the whole room first. A band that has dried before you roll it shows as a visible frame around the wall. Sherwin-Williams’ interior painting how-tos link proper cutting-in technique, along with rolling top to bottom, to even coverage without visible lap marks. Keep the band wide enough for the roller to overlap it.
Step 5: Roll Paint on the Walls
Roll each wall in sections, laying paint on in a large W or M and filling the shape in without lifting the roller. Roll the cover through the deep end of the tray, then up the ribbed slope, until it is evenly loaded but not dripping. Start each new section a little away from the last and roll back into its wet edge, so the overlap blends instead of drying as a stripe. Light pressure matters: push hard and the roller squeezes ridges of paint out of its ends.
Step by Step: Priming, Cutting In and Rolling Each Coat
Every coat follows the same order. Let the primer dry as its can directs, then cut in and roll wall by wall. A second color coat fills thin spots the first pass left and deepens the color. Wait for the recoat time printed on the can, since a damp room stretches it. Rolling over a soft coat lifts it, so touch an out-of-sight spot first: tacky means wait.
Step 6: Inspecting and Touching Up the Walls Once Dry
Once the final coat is dry, hold a bright work light close to the wall and shine it across the surface at a low angle. That raking light casts a shadow off drips, ridges and thin spots that overhead light hides. Flag each with a scrap of tape. Touch up from the same can, with a small foam roller or a dabbing brush, so the patch takes on the surrounding texture. If a spot still reads duller or shinier than the wall, repaint that wall corner to corner.
What Mistakes Should You Avoid When Painting a Room?
Three late-stage habits spoil walls that were prepped well, and each is easy to catch while you work.
- Pulling tape too late. Peel it while the final coat is still slightly tacky. If the paint has dried hard, score the tape’s edge with a utility knife first, or the new film tears off with it.
- Stretching the paint. A roller that starts making a tearing sound is running dry. Reload it; rolling on leaves thin, splotchy patches.
- Opening a new can mid-wall. Two cans of one color can differ slightly. Pour them together in a bucket before you start (painters call this boxing) so no wall changes shade halfway.
When Should You Hire a Professional Painter?
Hand a room to a professional when the walls need more than patching, or when the room’s height or finish leaves no margin for a learning curve. This guide’s steps assume sound walls within stepladder reach.
Large or Complex Rooms
Vaulted ceilings and multi-story foyers put the ceiling line beyond a household ladder. Reaching it safely takes scaffolding, or ladder jacks with planks, which is gear you would have to rent and learn to set up. Crown molding with deep profiles slows cutting in, and a wobble up there shows from the floor.
Damaged or Textured Walls
Significant drywall damage, or popcorn texture that has to come off, is repair work before it is painting. In an older home, the Centers for Disease Control and Prevention warns that lead paint can create hazardous dust during the sanding and scraping that this prep involves. Its guidance adds that a lead paint inspection tells you the lead content of every painted part of the house, so you know what the repair will disturb before it starts.
Limited Time or Experience
A professional room painting team splits the work. One painter cuts in while another rolls right behind, so every band is still wet when the roller meets it. Alone, you pace that wall by wall. If you value your time and want a showroom finish, hiring the experts is the better path.
High-End Finishes or Specialty Paint
Metallic coatings show every change in roller direction. Faux glazes have to be worked while still open, then left alone. A misstep in timing or stroke stays visible, and fixing it usually means redoing the whole wall in material that costs more to waste than ordinary wall paint.
What to Settle Before You Start Painting Your Room
Before you open a can, decide which side of the line this room falls on. If its walls need only patching, sit within stepladder reach and take an ordinary wall finish, you can carry it through yourself, as long as each coat gets its full dry time. If tapping turns up hollow plaster, or the ceiling line sits beyond safe ladder reach, settle that repair or rental first, since it changes the job before any paint goes on. For a room you would rather hand off, contact Quality Preferred Painting for a free estimate, or call us at 781-356-2050.
FAQs
How long does it take to paint a room?
A standard-sized room typically takes 4 to 8 hours to paint yourself, counting prep and a single coat. Add a second coat plus the drying time between coats, and it usually becomes a two-day job.
What is the best technique when learning how to paint a room like a pro?
Roll each wall from the top down, finishing the upper sections before the lower ones, so any drip that runs gets picked up on the way down.
Do I really need to use a primer?
Yes on bare, patched or glossy surfaces. For a big color change, such as a pale neutral over deep red, have the primer tinted toward the new color so the topcoat hides the old one in fewer coats.
How long should I wait between coats of paint?
Most latex paints feel dry to the touch within an hour, but wait at least 2 to 4 hours before a second coat. Touch-dry only means the surface has skinned over while the film underneath stays soft.
How do I get a straight line at the ceiling without tape?
Cut the ceiling line with an angled sash brush, drawing it along the edge in one long, steady stroke instead of short dabs. Press just enough to fan the bristles into a fine edge; keep a damp rag ready for slips.
Why does my paint look splotchy after it dries?
Splotches are uneven film, from skipped primer or from roller passes that overlapped paint already starting to dry. Dull spots matching your filled holes point to primer; stripes the width of the roller point to lap marks.
Sources
- Lead Renovation, Repair and Painting Program | US EPA, U.S. Environmental Protection Agency, retrieved 2026-10-13.
- About Lead in Paint | Childhood Lead Poisoning Prevention | CDC, Centers for Disease Control and Prevention, retrieved 2026-10-13.
- Volatile Organic Compounds’ Impact on Indoor Air Quality | US EPA, U.S. Environmental Protection Agency, retrieved 2026-10-13.
- Interior Painting How-To’s | Sherwin-Williams, sherwin-williams.com, retrieved 2026-10-13.